Start a Blog with Jekyll and GitHub Pages
In starting this blog, one of the first questions I considered was which blogging platform I should use. My initial top choice was WordPress, but in the end I decided to go with Jekyll and GitHub Pages. If you're familiar with GitHub, Jekyll is a great blogging platform that provides simplicity and speed.
Content Management System (CMS) or Static Website
WordPress and other similar platforms are Content Management Systems (CMS) that use databases to store content. Content Management Systems are very powerful applications, but if you only need a static site, like I did for my blog, CMS dynamic code and database calls can unnecessarily slow down loading time.
On the other hand, Jekyll is a static blog generator that compiles all files into static HTML before publication and has no database, which is great for loading speed. Essentially, Jekyll is a minimalist platform, with the bonus of free GitHub Pages hosting. If you don't need the added complexity of a dynamic blog, Jekyll is a solid choice.
If you need some help deciding whether a CMS or static website is right for you, check out this article.
Quickstart Guide to Jekyll
- Fork an existing Jekyll template. I used Jekyll Now to start, but you can find some other great themes here.
- Click the Settings button on your forked repository and change the repository name to
yourusername.github.io, replacingyourusernamewith your GitHub handle. Your website should go live within a couple minutes and be accessible fromhttp://yourusername.github.io. - Edit the
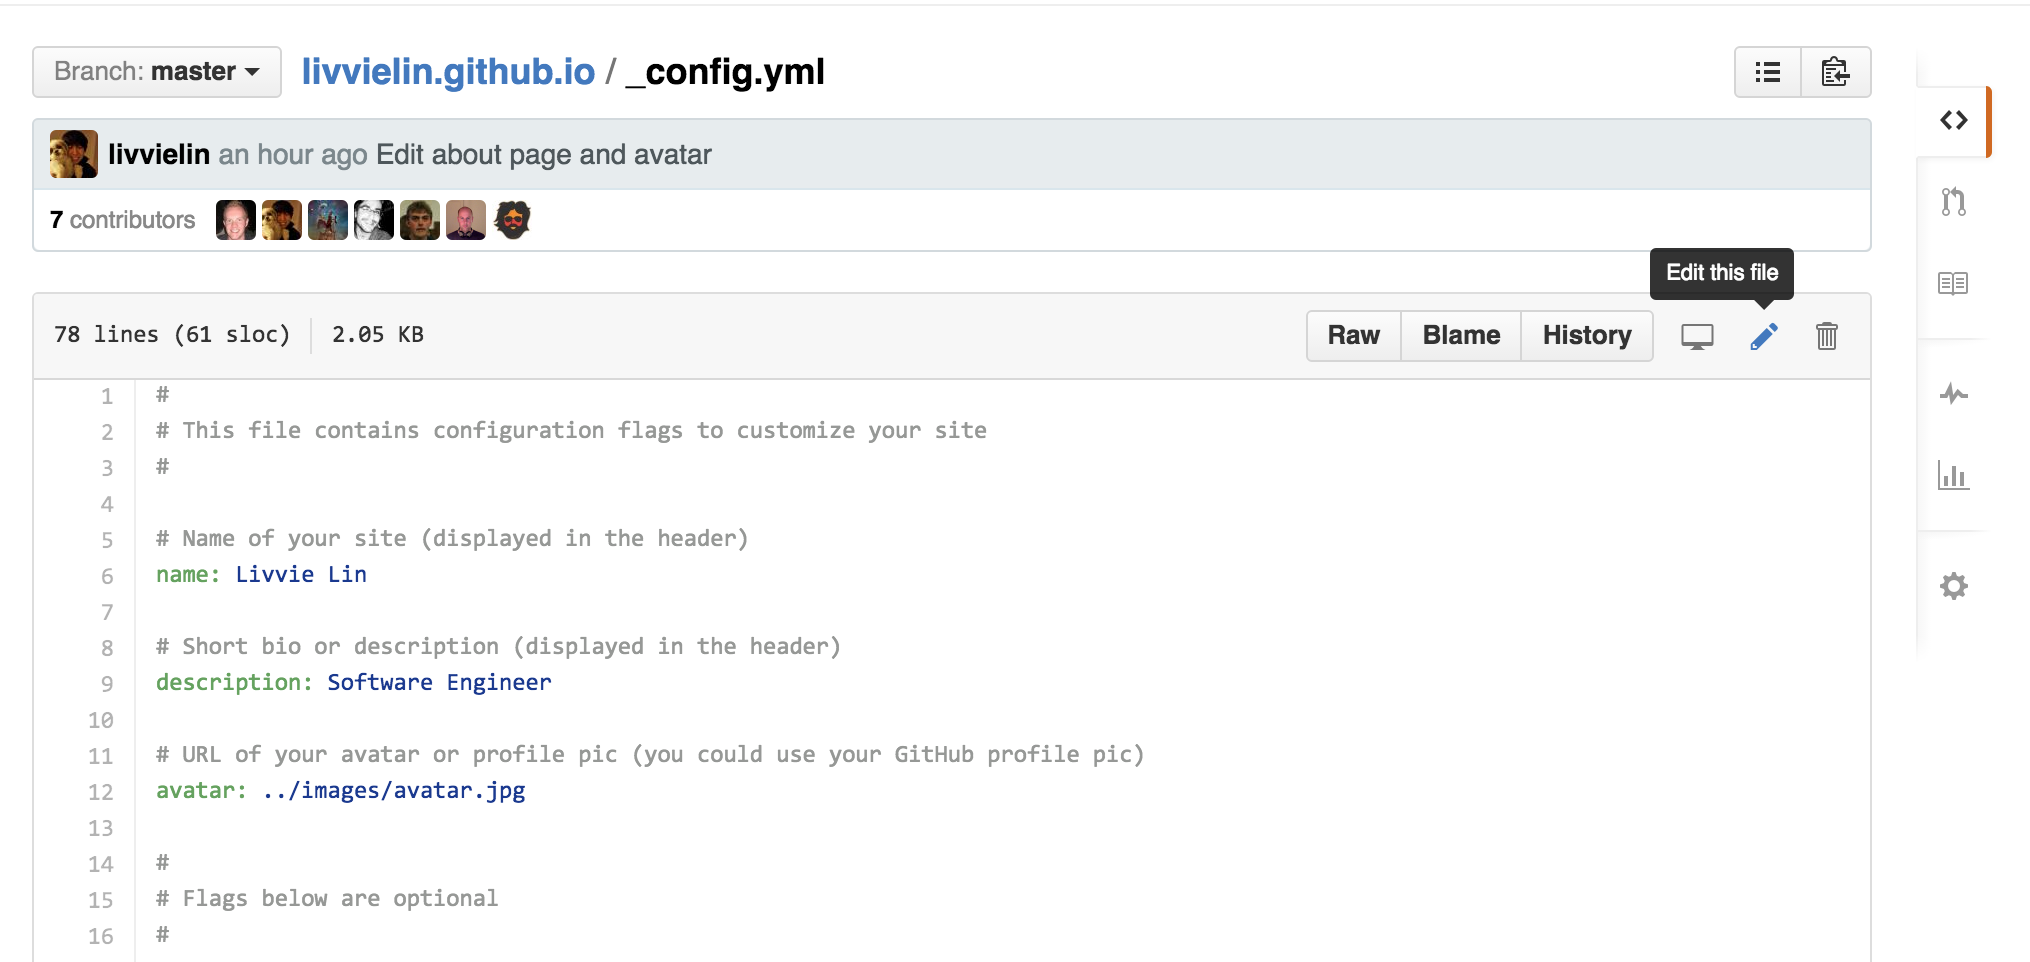
_config.ymlfile and save the changes to your repository. There are two main ways to edit the blog and publish the changes:- Clone the repository onto your local machine, edit the file, and commit and push the changes to GitHub.
- Make changes to the file in the browser on GitHub by navigating to the file in your repository and clicking the pencil icon to edit. Edit the file and commit the changes.
- Edit the
about.mdfile to change the content on the About page.
Previewing Your Blog Locally
If you're editing your blog locally, you may want to preview your blog on your local machine before pushing your commits. To do this, first make sure you have Ruby and Ruby Gems installed. Then run the following commands:
gem install jekyll
gem install github pages
Finally, in your blog's repository, run jekyll serve in the command line and navigate to http://localhost:4000 in the browser to see your blog!
Writing a Blog Post in Jekyll
- For your first post, edit the
/_posts/2014-3-3-Hello-World.mdfile on your local repository or on GitHub. - Update the title at the top of the Markdown file. The variables at the top between the triple-dashed lines are called front matter, which you can read more about here.
- Rename the file name to include the date and title of the post in the format
year-month-day-title.md. Jekyll requires this format for your posts' file names. - Preview the post either on GitHub or on your local machine. Commit and save the changes.
- For future blog posts, create a new file in the
_postsfolder. You can create a new file either in your local repository, or on GitHub by navigating to the_postsfolder in your remote repository and clicking on the+icon. Remember to format the file name correctly and include the front matter, which is set at the top of the file between triple-dashed lines.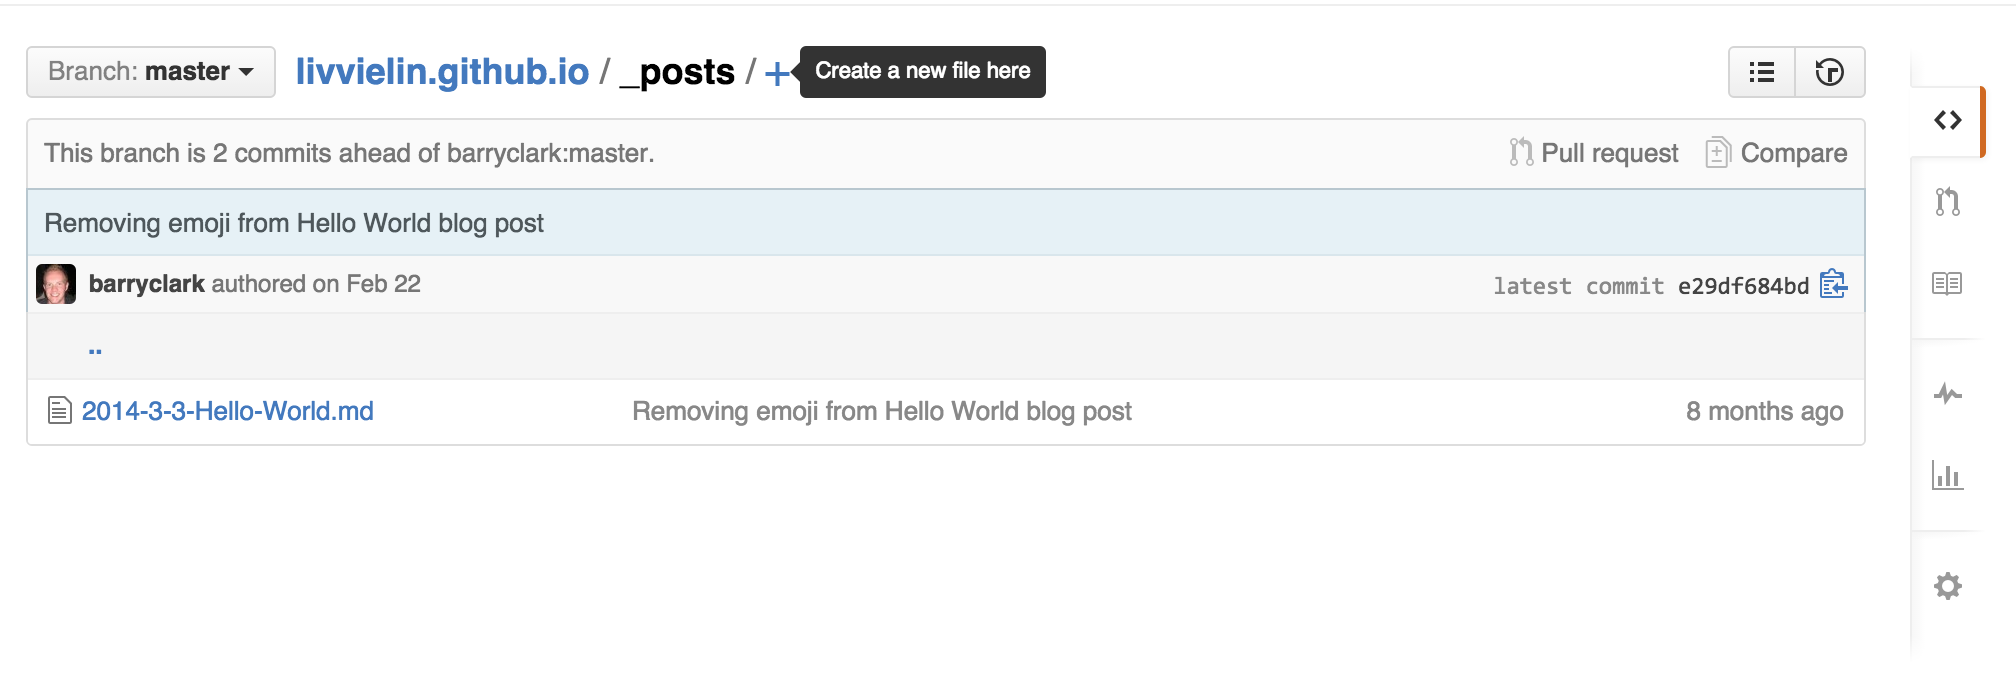
Blog posts are generally written in Markdown. A great reference is this Markdown Cheatsheet.
Happy blogging!
Comments